
The Last Sourdough Starter Recipe You Ever Need
Sourdough is an excellent way to make your bread more fluffy. At the same time the taste becomes a little sour adding excellent flavor to the bread.
Update, October 2026: I make starters differently today. The microbes come mostly from the flour, not the air, so cover the jar loosely. From day 2, keep 10 g, feed it 50 g flour and 50 g water, and discard the rest. Go by bubbles and smell, not by the calendar, and start over if it is still not ready after 10 feedings. Before a bake, feed your starter 1:5:5 or 1:10:10, not 1:1:1. The steps below follow my free book; the video shows how I first did it.
The short version
- Flour: start with whole grain flour. Most microbes sit on the hull of the grain.
- Water: use water at 20 to 30 °C (68 to 86 °F).
- Routine: cover the jar loosely. Every day, keep 10 g, feed it 50 g flour and 50 g water, and discard the rest.
- Ready: mine took about a week. Go by bubbles and smell. Still not ready after 10 feedings? Discard it and start over.
- Baking: keep the starter in the fridge and feed it 1:5:5 before you bake. A rye bread takes about 20 % starter.
Make your own sourdough
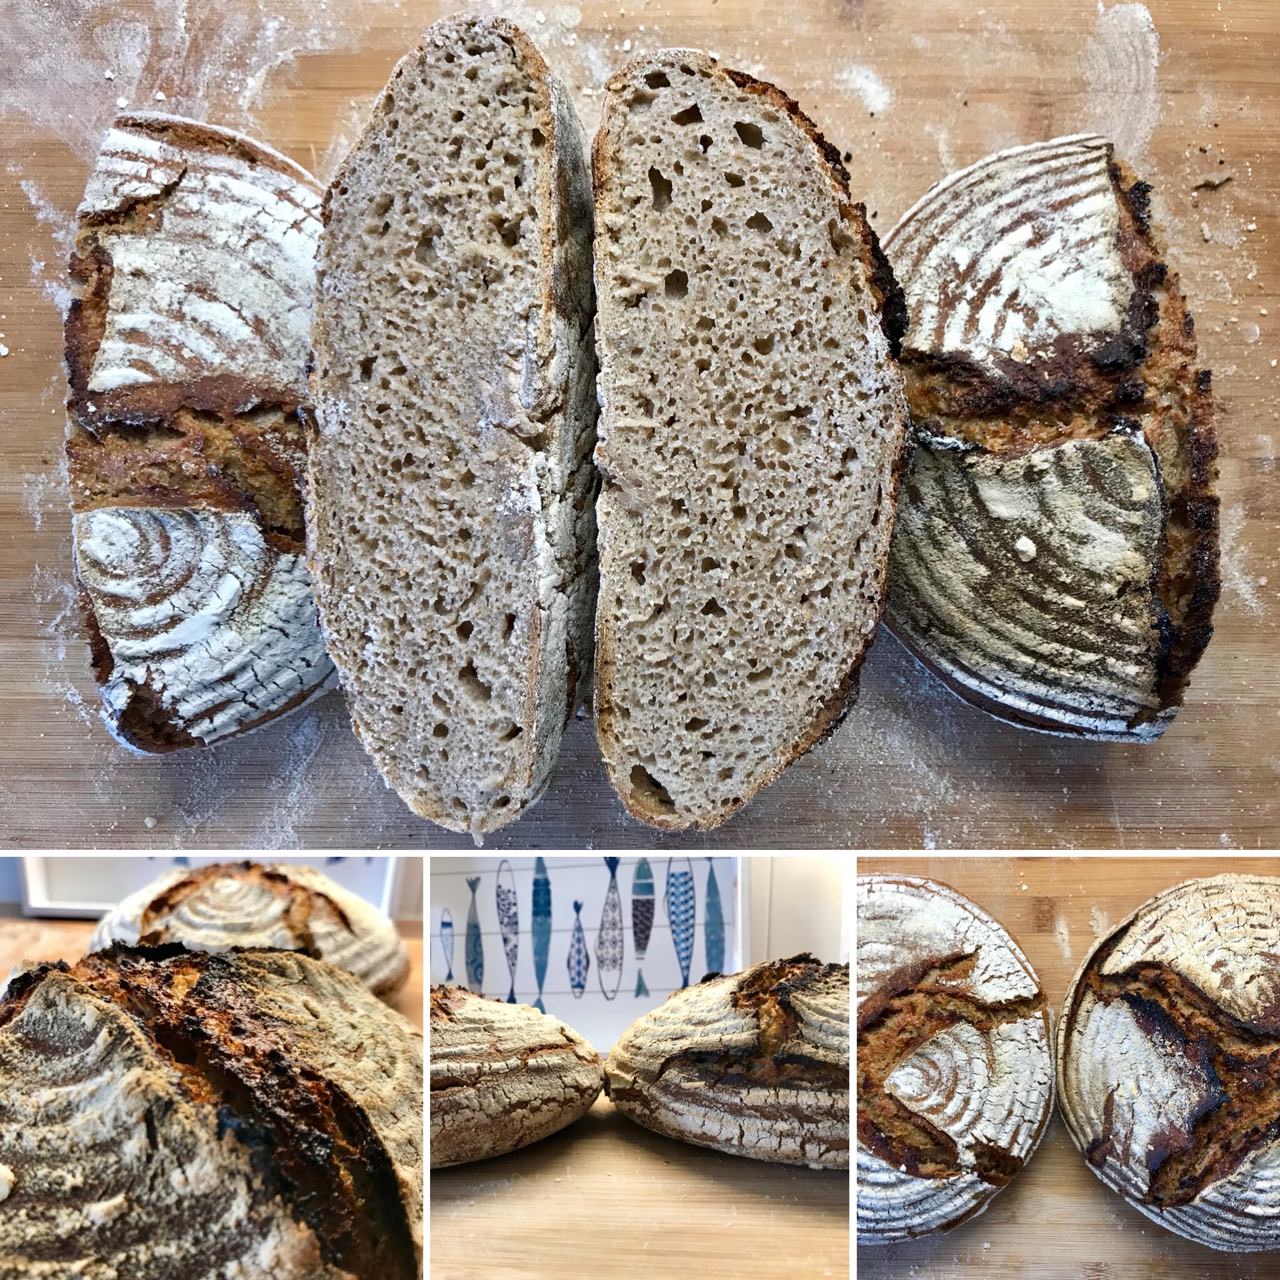
A welcome side effect is that you can eat your bread for a longer period of time as it does not catch mold as fast as yeast-only bread. This is because the acidity of sourdough is a natural mold inhibitor. Good news, it is really easy to make your own sourdough.
Personally I find sourdough amazing as it is an all natural product. It has been there for thousands of years. The story goes that an Egyptian woman has left a piece of dough near the Nile river. After a few days her bread smelt funky. She decided to use that dough for her bake and thus discovered sourdough. Mankind uses fermentation for many great products, wine, beer, sauerkraut, cheese and sourdough. It requires a little time initially to create your own sourdough, but afterwards you can re-use the sourdough for every future bake. Do not worry, the initial time invest is very small. You will be rewarded with amazing bread that only contains 3 ingredients: Flour, Water and Salt.
Just to be fully transparent, this is about the time that it will take you to complete your sourdough:
- The whole process will take you 7 days with around 2 minutes of time per day.
- That means you will spend only 14 minutes in total to have your own sourdough ready.
- I like to call this dough the mother dough, as it is the mother of all my doughs.
Nowadays bakeries add commercial yeast to the dough. The sourdough itself is a little unstable in handling and requires more work. Overtime the bread becomes sour, at some point too sour. The sourness attacks the integrity of the bread. Thus it becomes important that you have proper timing. With yeast only bread this does not happen. You can ferment for a longer period of time without experiencing the negative side effects. This is way easier to do for a large scale bakery.
The traditional breads before we had sourdough were more flat-breads. You can compare them to Roti style breads in India. They are flat a little more crunchy. But typically they do not have a large open crumb. If you attempted to bake them like a bread you would end up with a large big brick.
Have you ever wondered why at some point your food suddenly starts having mold all around? Microbes are everywhere: in the air, on your hands and on the grain. For a sourdough starter, the ones that matter come mostly with the flour. When setting up a sourdough we want this natural yeast and bacteria to multiply inside of our dough. The bacteria releases lactic acid when digesting the flour, and the yeast is in charge of creating the carbon dioxide which makes the bread fluffy. The dough gives the bacteria and yeast a really amazing place to live, and they live in harmony and balance. As a baker, it is your job to ensure that they feel happy and enjoy their home.
At first only a few of them are adapted to fermenting flour, and it takes some time until they take over. That’s why your first sourdough can take up to a week until enough yeast and bacteria have grown in your dough. The flour that you use for your initial seed dough is also important. Full-grain flour is what you want, because naturally yeast cells have gathered on the hull of the grain. Rye seems to work best as it has more yeast naturally on the hull than other grains.
Requirements
- 400 grams of full grain wheat flour (Look for flour with Whole in the word like Wholemeal or Wholegrain)
- You can also take rye, spelt or whatever full grain flour you have available. Don’t worry too much, you can later on feed your mother dough with rye to make it more ryish. It’s just about getting a nice and yummy place for the bacteria and yeast.
Instructions
Day 1
Take a jar and add about 50 grams of flour and 50 grams of water. Make sure you stir everything nicely. You want a homogeneous mixture of dough and water. The water you use daily should always be between 20° and 30° degrees Celsius, as that is the ideal temperature for the yeast and the bacteria. Generally the colder the water, the slower the process. But at some point even for humans it becomes too hot and we collapse. There is a tipping point. Try to stay in the suggested temperature range.
Cover the jar loosely and place it somewhere in your kitchen. Not airtight: the microbes need some gas exchange, and the cover keeps the surface from drying out. The temperature of the room where you store the dough does not matter too much. It should not be freezing, and not super warm. If it is colder it might take a little longer to get the mother dough ready. If it is warmer, it could be done sooner. Regardless, go by bubbles and smell, not by the calendar.
Day 2
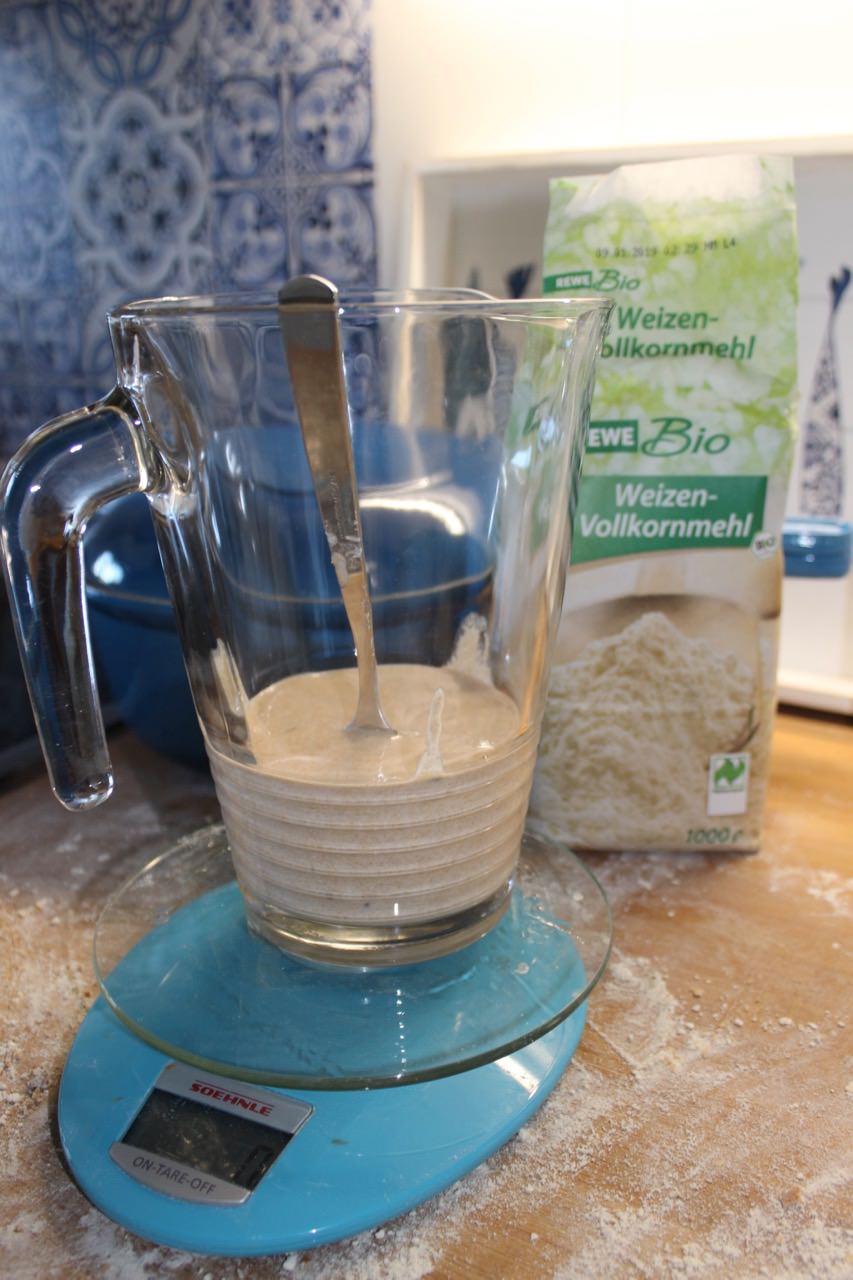
Keep 10 grams of the mixture and discard the rest. Mix the 10 grams with 50 grams of flour and 50 grams of water (1:5:5) and stir everything. Cover the jar loosely again. The leftovers of the first days can hold unwanted microbes, so don’t use them. The 10 grams you keep carry the microbes that are winning.
Day 3 and the following days
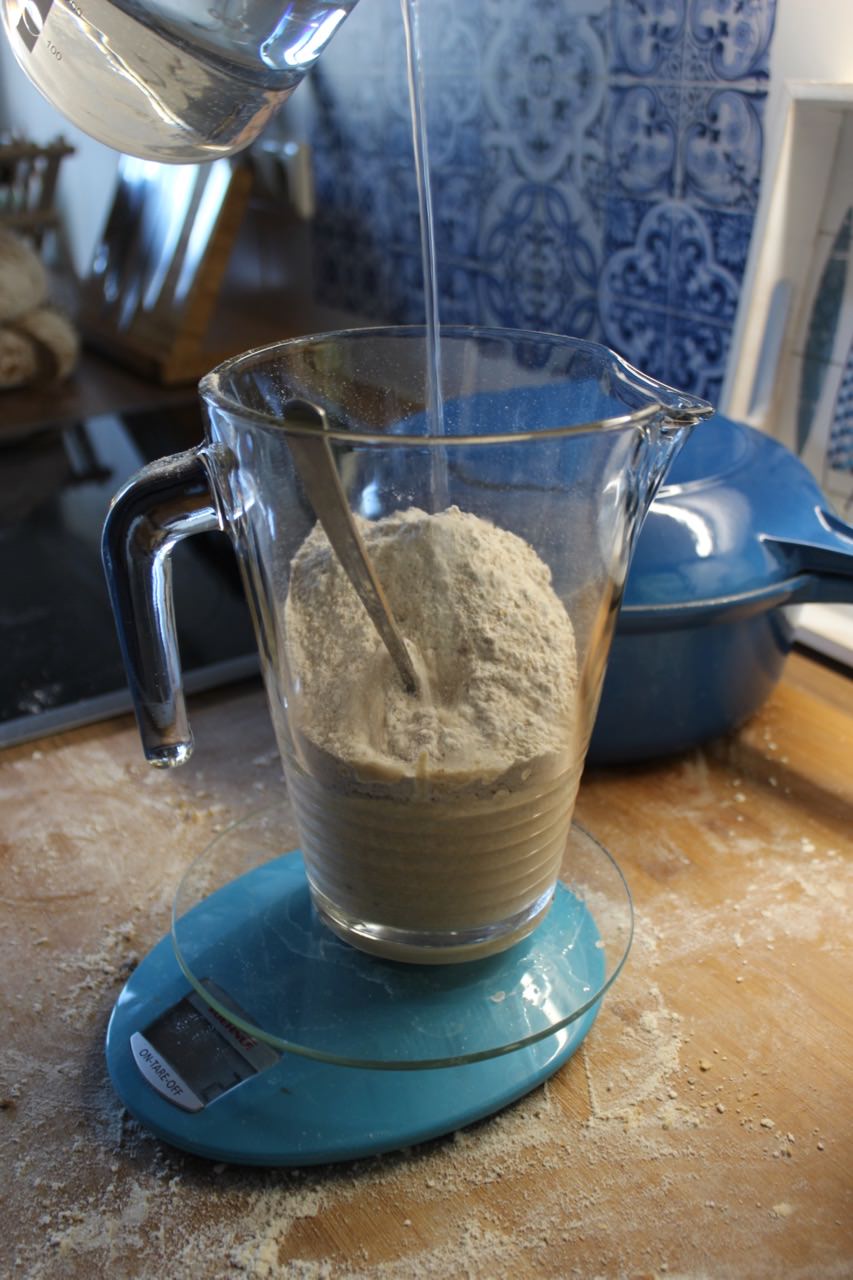
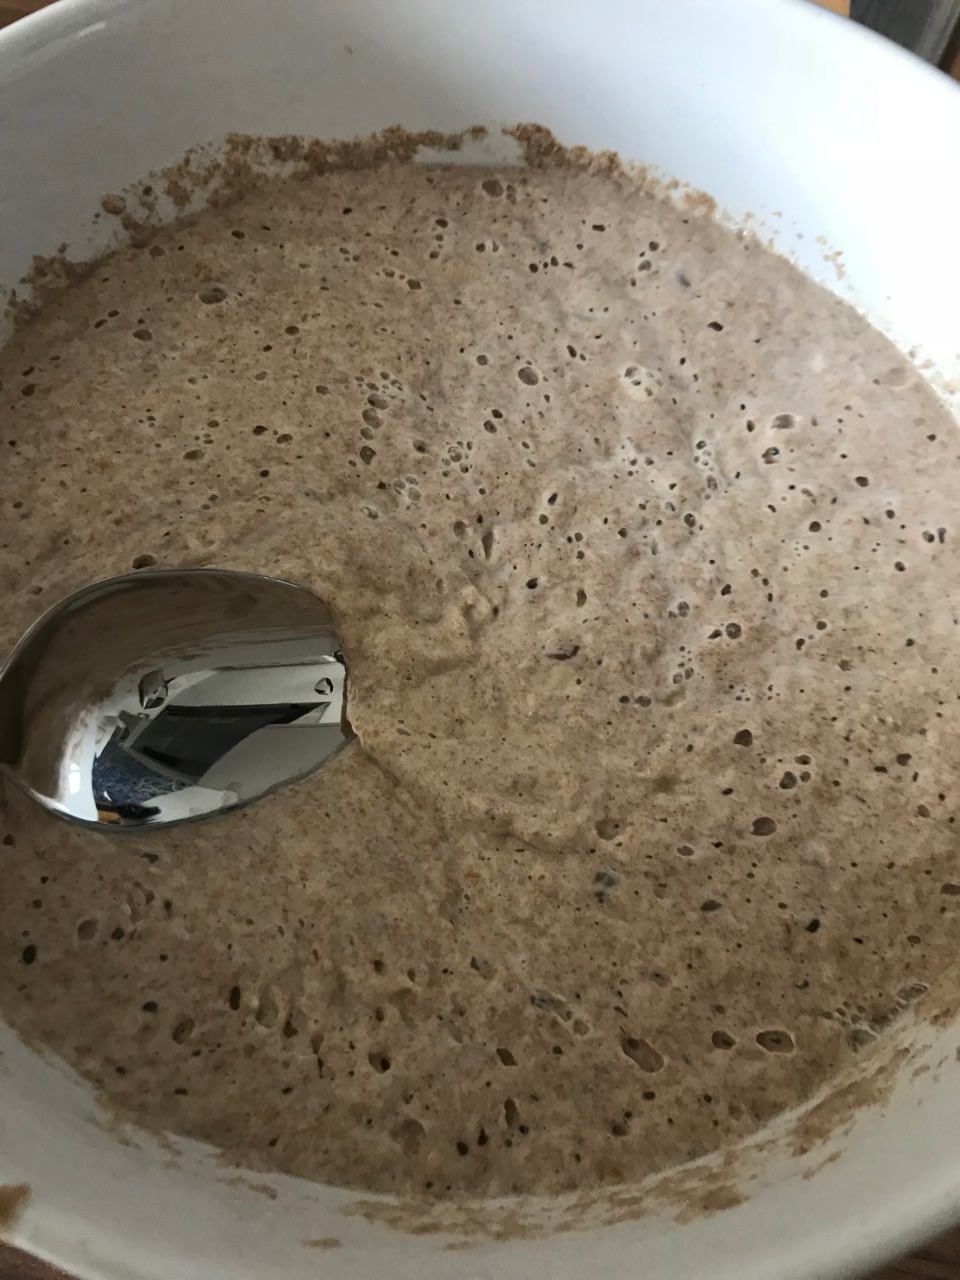
Every 24 hours, check your starter. It is ready when it has grown, has bubbles and smells vinegary or like yogurt. If not, feed it again: keep 10 grams, mix in 50 grams of flour and 50 grams of water, and discard the rest. If it is still not ready after 10 feedings, discard everything and start over, ideally with a different flour.
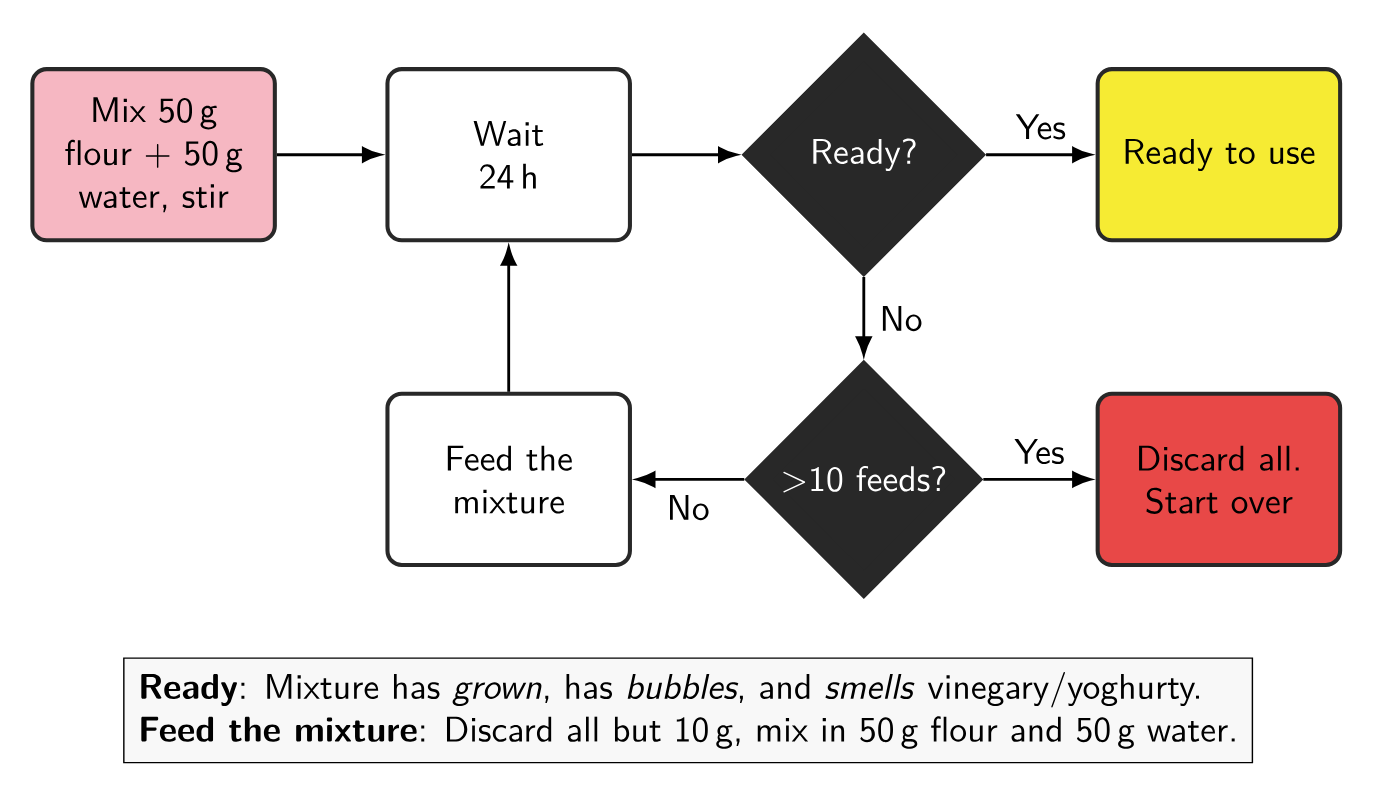
Flowchart 3.1 from my free book The Sourdough Framework: The process of making a sourdough starter from scratch.
Your starter is ready
You are done 🎉. Mine took about a week. You are ready to bake your first bread with your own sourdough. When not needing the mother dough, cover it with some foil and place it in your fridge. This slows down the bacteria and yeasts’ activity. Unless you want to start baking now, place the sourdough in the fridge.
Baking
A healthy formula is 20% sourdough for a rye bread/full grain bread.
Assuming you would bake 500 grams of flour, you will need 100 grams of sourdough.
This is also called Sourdough starter.
The typical process for baking is as following.
- Calculate how much sourdough you are going to need
- Remove the mother dough 1 day before the bake from the fridge
- Create your sourdough starter by mixing 1:5:5. This means 1 part mother dough, 5 parts flour and 5 parts water: for about 110 grams of sourdough starter you will need 10 grams of mother dough, 50 grams of flour and 50 grams of water.
In reality though we are always creating a little more starter since that starter will become the new mother-dough. That’s right, we never need all mother dough. We are in fact going to discard it from time to time. Or - if you feel like, you can use all of the left over mother-dough to create some pancakes, waffles or a really sour bread.
Correcting the above said - you will want to have approximately 50 grams more sourdough starter than you actually need. So for a desired 100 grams of sourdough starter you would mix 14 grams of mother dough, 70 grams of flour and 70 grams of water. That makes about 155 grams: 100 grams for your dough, and the rest becomes your new mother dough.
Creating the starter is typically done 12-24 hours before the bake. This allows your yeast/bacteria to become active again. They have been freezing in the fridge. In fact depending on your time schedule, I do 2 feedings before I bake my bread the next day. That’s because I will have less fermented flour in the actual bread. Too much acid can mitigate the quality of the flour. I suggest to try with 1 single feeding first and then advance the moment you feel comfortable. If you need the starter later, feed it 1:10:10 (1 part mother dough, 10 parts flour, 10 parts water). Note how the ration water:flour is always the same. You always want to feed your starter with the same amount of water and flour. It makes it very easy to calculate.
Your sourdough starter is ready to use once it has grown, shows air pockets and smells pleasantly sour. It does not have to double: with rye or weaker wheat flour it rises less and can still be healthy. Use it just before it collapses, rather a little too early than too late. In my case that’s around 12-24 hours after removing it from the fridge, or around 8 hours when I keep it at room temperature. Then proceed and bake your bread. Place the leftover sourdough back in the fridge. It will become your new mother dough.
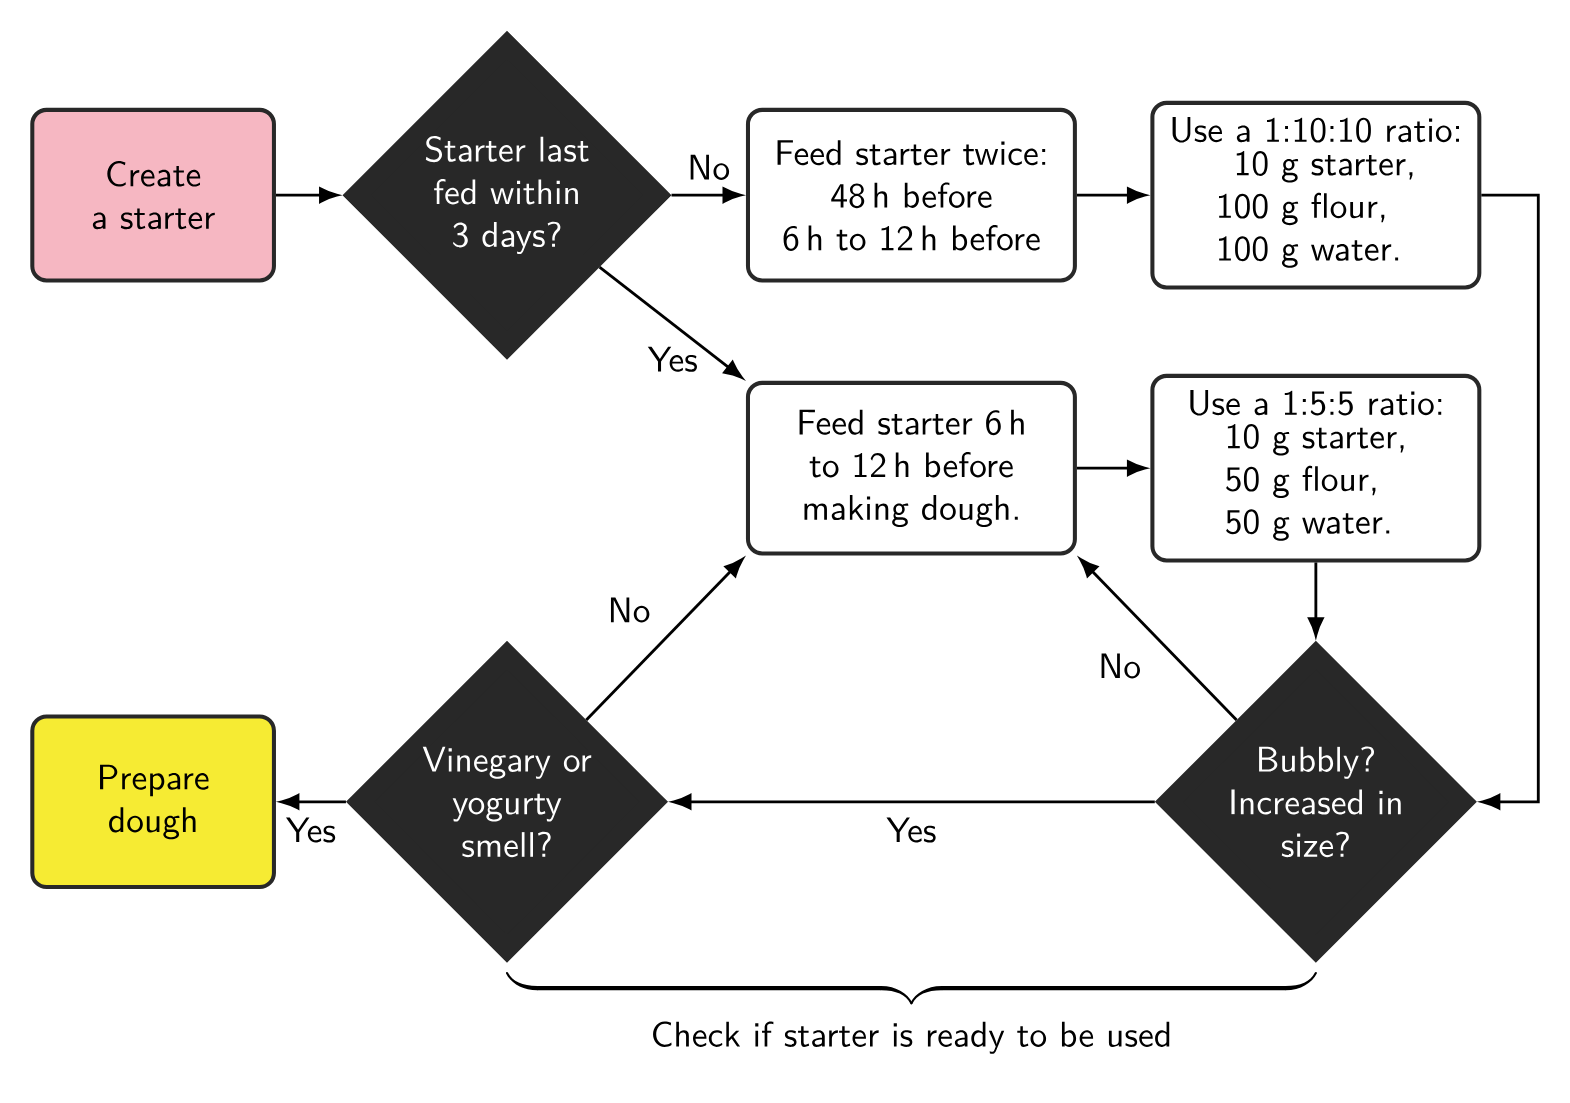
Flowchart 3.2 from my free book The Sourdough Framework: A flow chart showing you how to determine if your sourdough starter is ready to be used. Make sure to wait at least 6 h to 12 h after feeding your starter to check its readiness. To evaluate it, look at your starter's size increase, airy texture and take note of its smell.
You can maintain your mother dough for a very long time. There has recently been a report on a woman having a 122 year old sourdough starter.
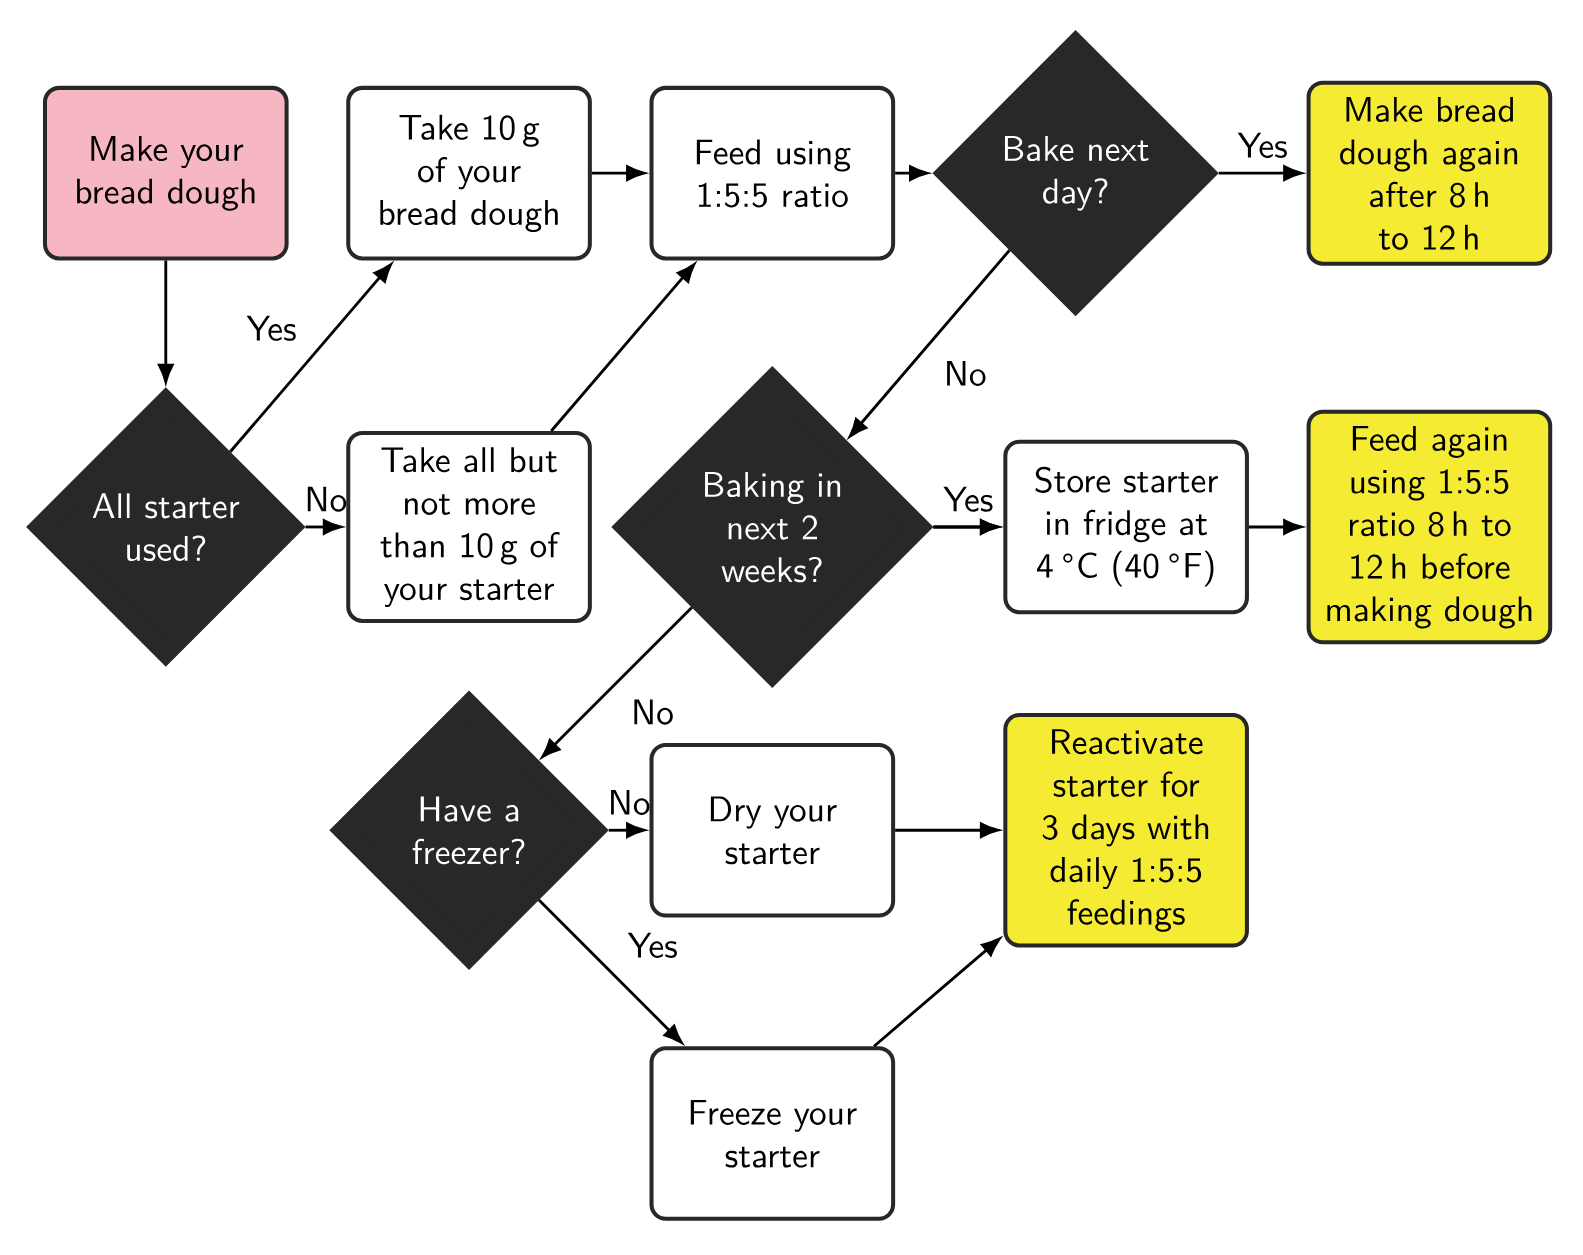
Flowchart 3.3 from my free book The Sourdough Framework: A full flowchart showing you how to conduct proper sourdough starter maintenance. You can use a piece of your dough as the next starter. You can also use left-over starter and feed it again. The chart assumes a starter at 100 % hydration; adjust the water accordingly for a stiff starter.
All the recipes follow this simple principle:
- Take some of your mother dough from the fridge. Discard the rest or store in another container to make pancakes/waffles/super sour bread.
- Feed it 1:5:5: 1 part mother dough, 5 parts flour, 5 parts water.
- Wait 6 to 12 hours, until it is ready.
- Mix the starter into your dough
- Return the leftover starter back to the fridge in a new container
- Start the bake.
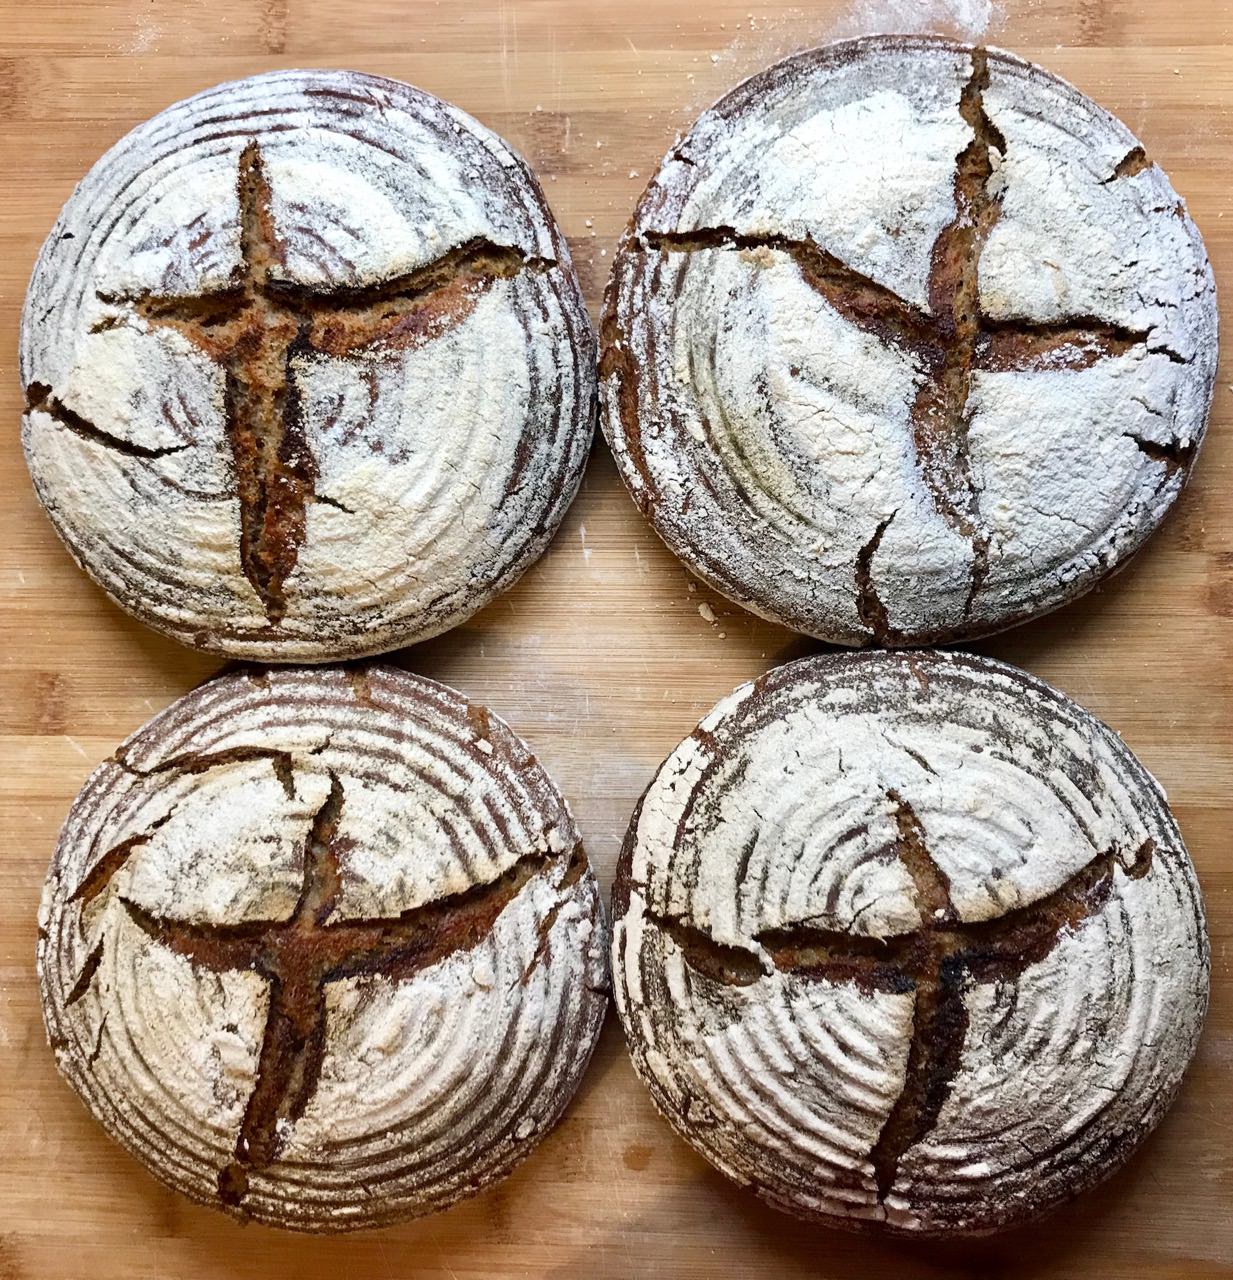
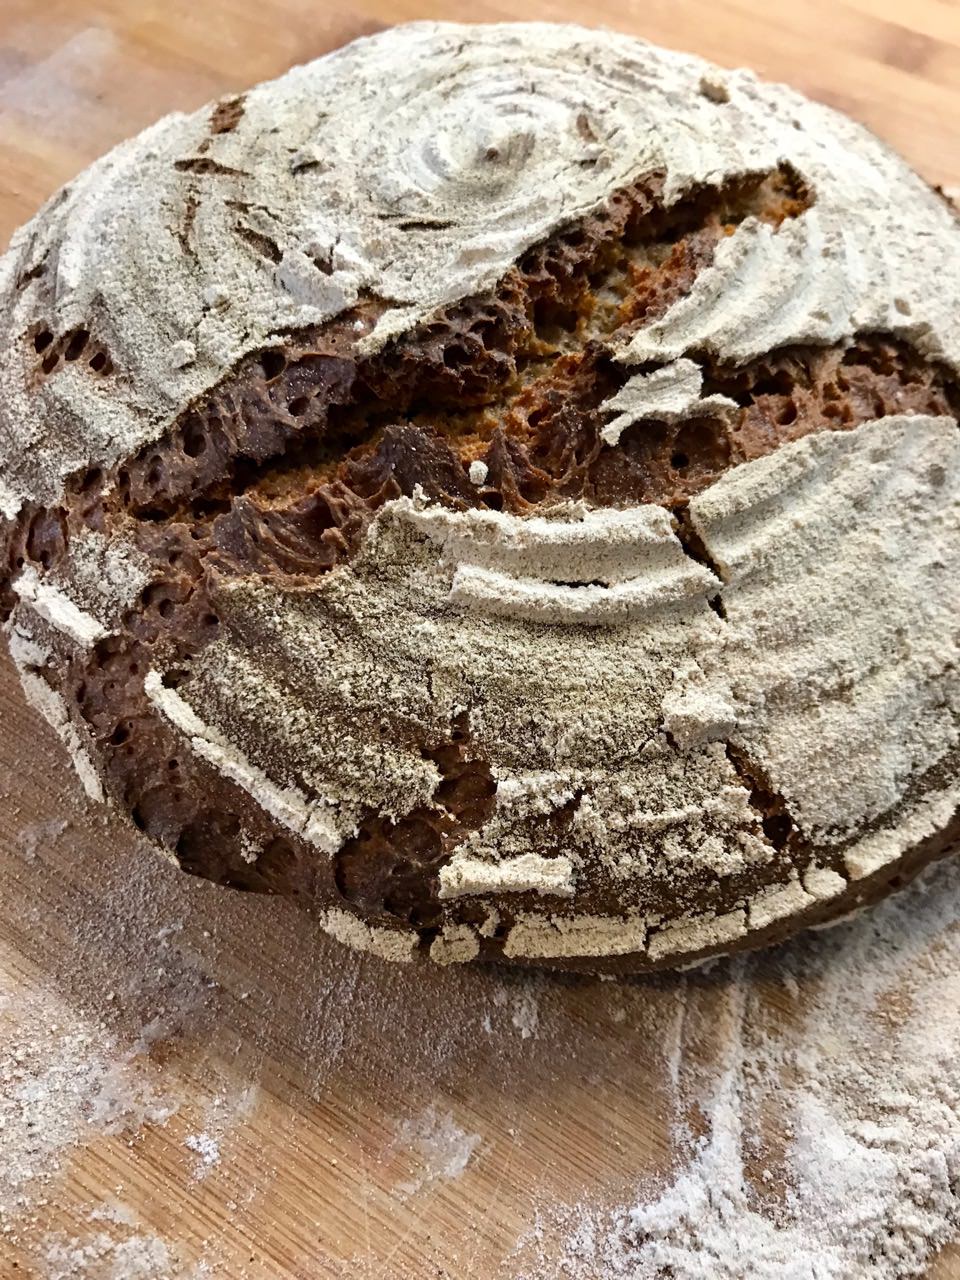
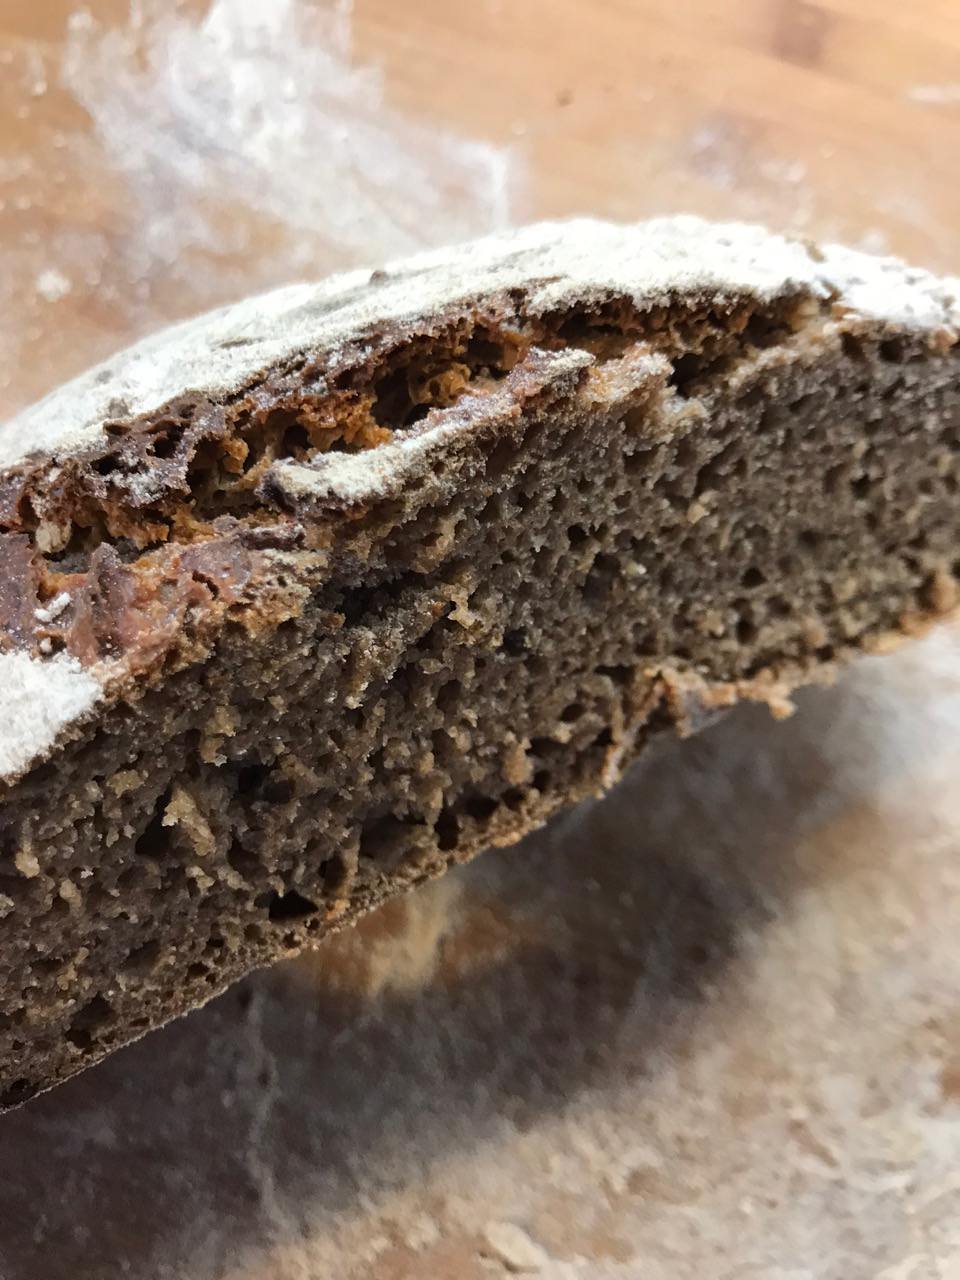
Below is what many first ever baked sourdough bread looked like. If yours looks somewhat like this, you did a good job. It was a mixture of 50% rye and 50% full grain.
This is what it looked like from the inside:
If you don’t feed your mother dough it will eventually starve as it has no more food. Don’t worry, my mother dough survived for 4 weeks in the fridge. You are not forced to bake every weekend. Some liquid may gather on top of your mother dough. That is called hooch: water with some flour particles and dead microbes. Just remove that, feed your dough again and you should be good.
Please also check out my full YouTube tutorial on how to make the starter.